Tutorial 3 - Button Input
Introduction
Push buttons are one of the most common ways for a user to provide input. In this tutorial, you will connect a button to the Raspberry Pi 5 and use it to control an LED.
Components Needed
| Component | Quantity |
|---|---|
| Raspberry Pi 5 | 1 |
| Breadboard | 1 |
| Wires | Several |
| LED | 1 |
| 300 - 1K Ohm Resistor | 1 |
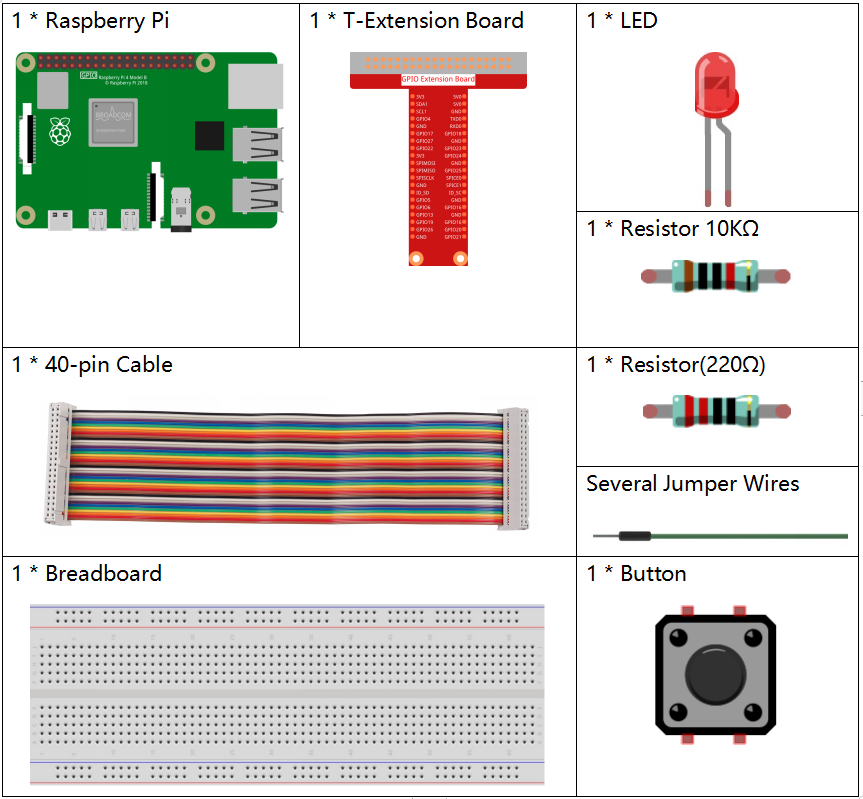
Image credit: SunFounder
Fritzing Diagram
Connect the button and LED to your Raspberry Pi as shown in the following diagram.
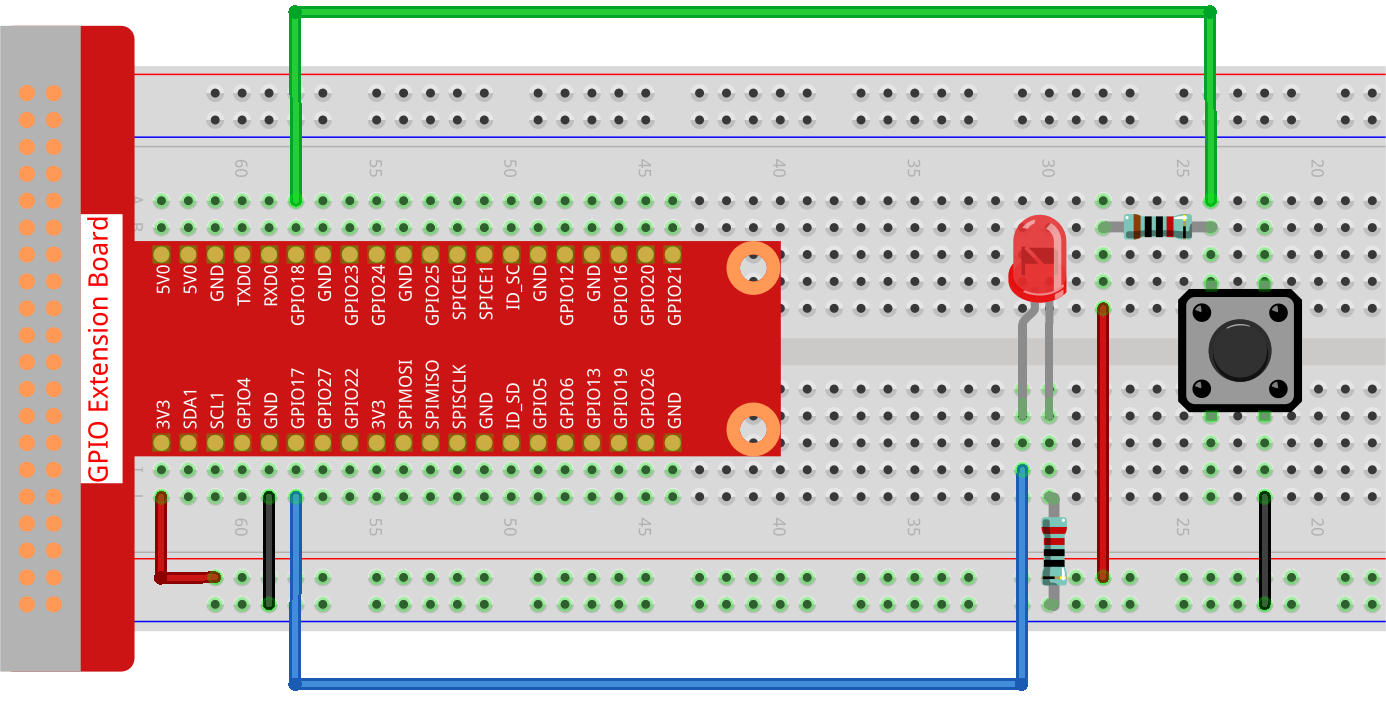
Image credit: SunFounder
Code
from gpiozero import LED, Button
from time import sleep

# Initialize an LED connected to GPIO pin 17 and a button connected to GPIO pin 18
led = LED(17)
button = Button(18)

# Keep track of the LED state
led_status = False

print("Press the button to toggle the LED. Press Ctrl+C to exit.")
while True:
    if button.is_pressed:
        led_status = not led_status
        if led_status:
            led.on()
            print('LED ON')
        else:
            led.off()
            print('LED OFF')
        sleep(0.5)
Code Explanation
from gpiozero import LED, Button
from time import sleep
This imports the LED and Button classes from gpiozero, plus sleep from the standard time module.
led = LED(17)
button = Button(18)
These lines configure the LED on GPIO 17 and the button on GPIO 18.
led_status = False
This variable keeps track of whether the LED is currently on or off.
while True:
The loop runs continuously so the Raspberry Pi keeps checking the button state.
if button.is_pressed:
This checks whether the button is currently pressed.
led_status = not led_status
This toggles the LED state each time the button is pressed.
sleep(0.5)
The short delay helps debounce the button so one press does not trigger multiple toggles.
Conclusion
This example shows how to use a button as digital input and react to that input by changing the state of an LED.